Converting Your VHS and Betamax Tapes to Digital
Table of Contents
I’ve started a new initiative to help my parents convert all their VHS and Betamax tapes over into the digital world. These tapes are those precious family home videos. These are mostly tapes from the 1970s, 80s, 90s, and even part of the early 2000s.
In today’s times we should all be capturing everything in digital format already. From DSLRs, HD camcorders, to even our smartphones. We just need a way to bring the past thirty plus years of our lives into the modern age.
A few years ago, we had a VHS to DVD recorder for the house. But these were and are expensive– $150-200!! Plus, they save to DVD, which may as well join the VHS/Betamax family as being old and outdated!
The world is digital now and the future isn’t in CDs, DVDs, or even Blu-ray discs. The present and future is in local hard drives in many of our devices and PCs, which should be syncing to another backup or cloud solution. All these choices are cheaper and better than ever.
What You Need #
- A computer running Windows or Mac OS X.
- A VCR or Betamax player that works still.
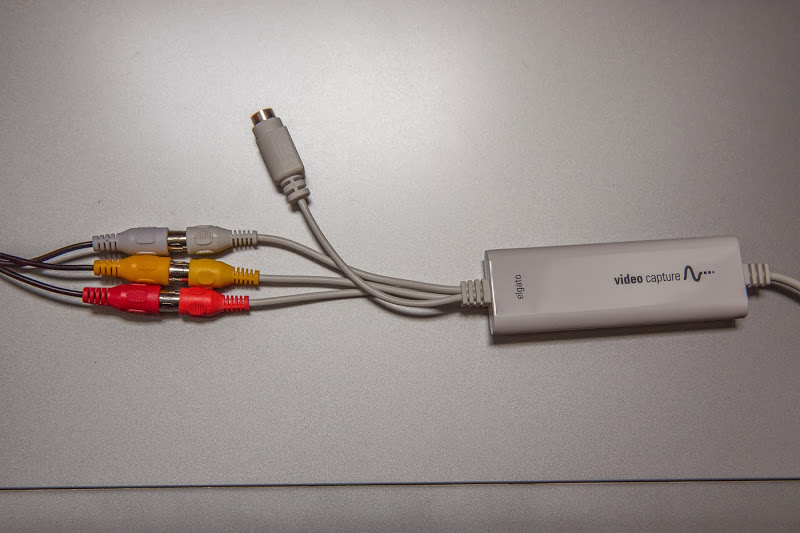
- Elgato Video Capture Device (~$80).
- Enough hard disk space on your computer.
Below we have both a VHS and Betamax players.
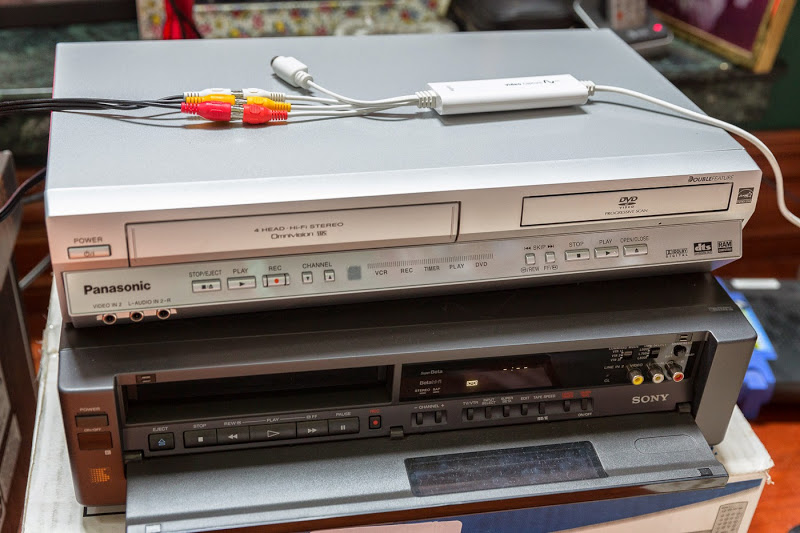
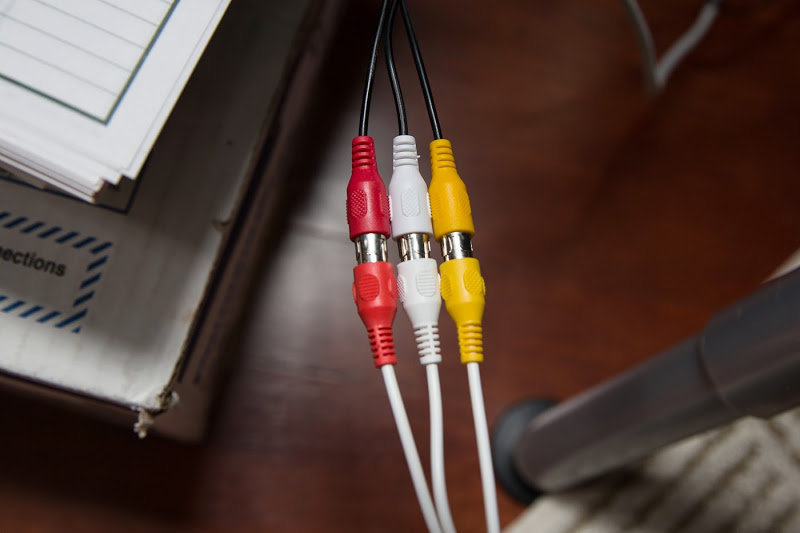
Uses the standard RCA cables as input/output.
The video capture device. It’s USB.
Extras #
So here’s a quick list of what I recommend as extra if you got the cash or really care about backing up your stuff.
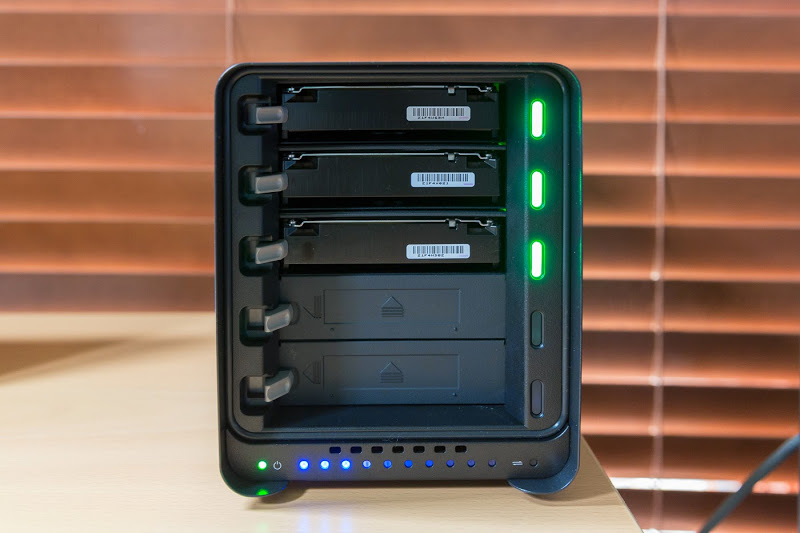
- Drobo 5D (~$575) - For backup and redundancy for your data.
- Seagate Barracuda 3 TB HDD (~$100) - I recommend 3 or more, depending on how much you need. Or…
- WD Red 3 TB NAS Hard Drive (~$125)- Even better, get the NAS optimized hard drives. Just avoid purchasing any green drives as they don’t perform well and even Drobo doesn’t recommend them.
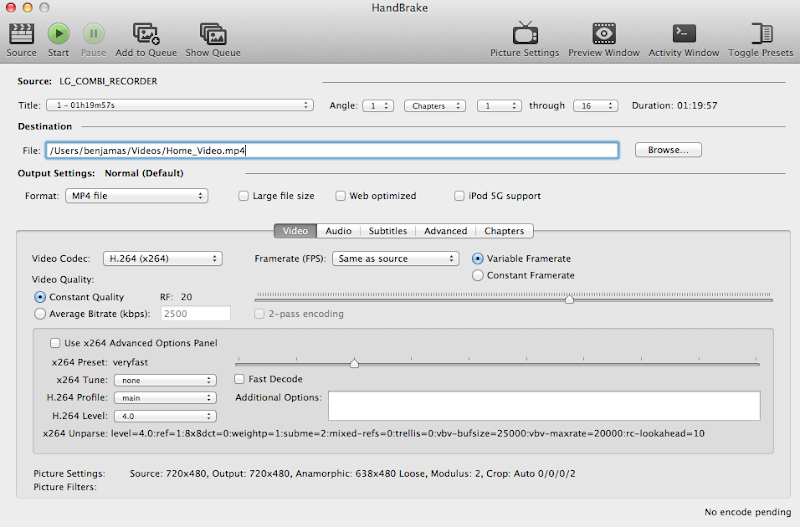
- Handbrake - Software to convert DVDs, CDs, or other digital formats.
The Drobo 5D.
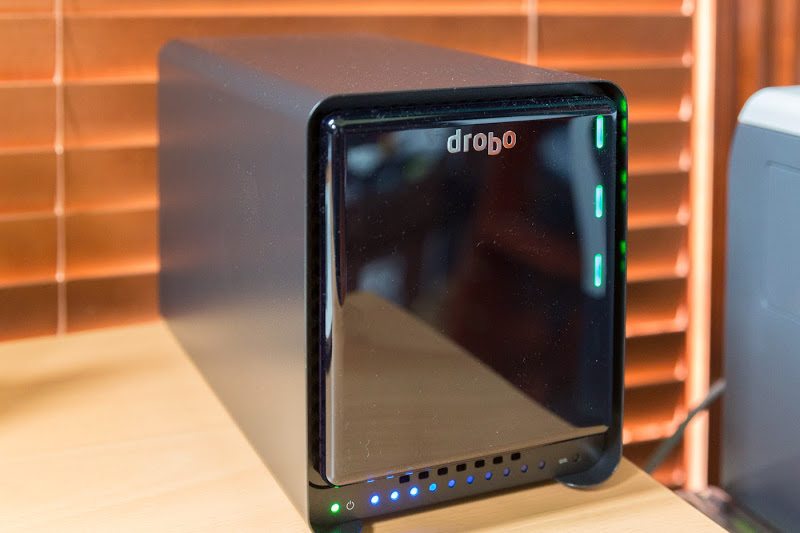
The three internal hard drives, and two unused bays.
Do It Yourself #
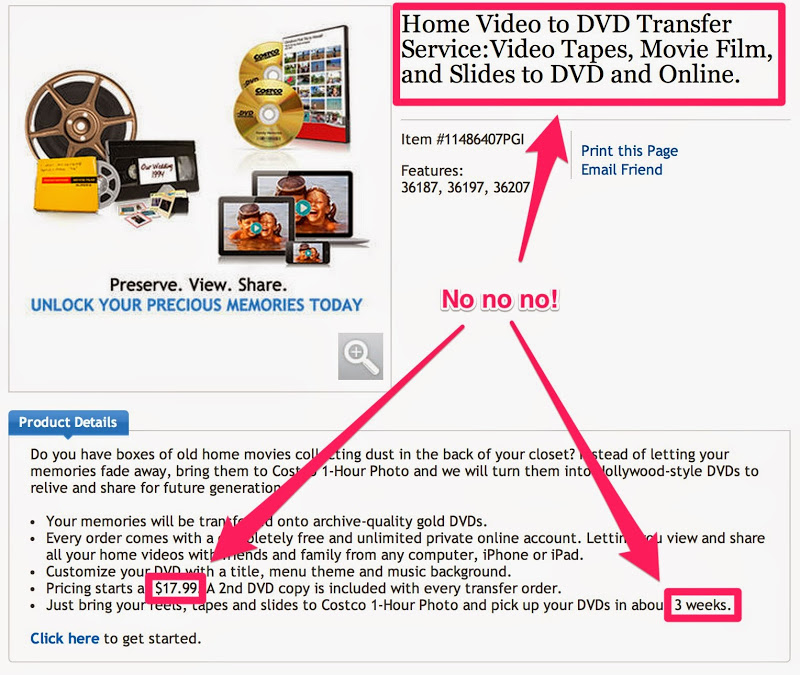
So these are my recommendations. I do not recommend you take them to CostCo or some other store to have them convert your tapes to DVDs/online. No! I personally consider the tapes to be too valuable to leave with a store or stranger to convert. You can easily do this yourself with the peace of mind that your valuable memories won’t get accidentally lost or destroyed.
How it Works #
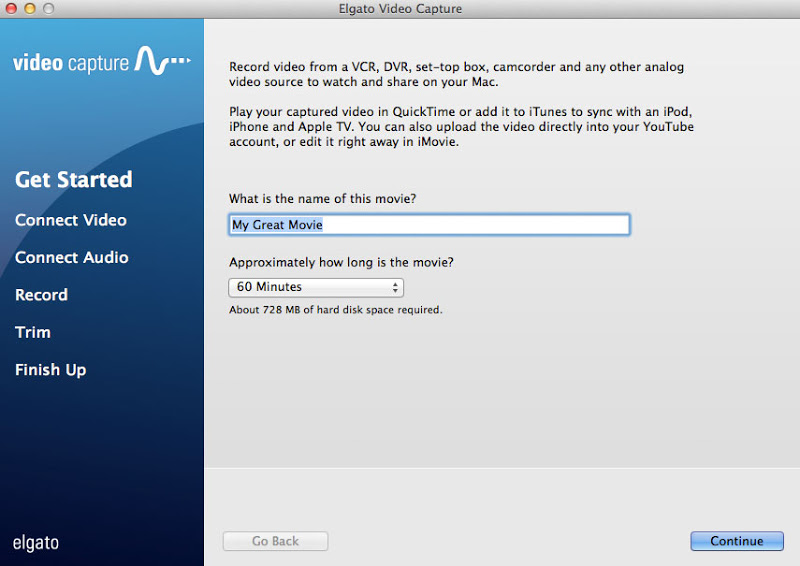
Here’s how the conversion process works for video tapes. You put the tape into the VCR and play them as you would normally. The video/audio feed then connects via the capture card and goes into your computer. Your computer’s software will record all this digitally. The space required varies depending on how long the videos are, but I find that it’s between 500MB for 30 minutes, and 1.7GB for 2 hours of video. The software allows you to trim the beginning and end in case there’s blank or empty space.
A screenshot of the video capture software running on Mac OS X (Mavericks)– pretty straightforward guide.
If you have some DVDs that you want to convert, there’s Handbrake software. What it does is detect the video/audio source files needed to convert into a single video file output.
I recommend naming the files something that makes sense to you. I personally use the following format:
YEAR-MONTH-DAY - DESCRIPTION.mp4
So a video of my Halloween in 1985 would be named: “1985-10-31 - Steven’s Halloween.mp4”
If the month or day is unknown, it’s okay. Not all our videos are timestamped that well. But year and description are the most important. So something like, “1989 - Steven playing in the backyard.mp4” is still good.
This is similar to how I organize my photos in Lightroom. The date is first so it gives you a sense of when it happened. They also align by date when your file manager like Windows Explorer or Mac’s Finder organizes by filename.
The purpose of the Drobo 5D is so you can backup your files and have redundancy. Imagine if you only had an external hard drive to backup your work– and if that failed and you didn’t have another copy anywhere. You might be devastated! Hard drives do fail. It’s not a matter of it, but when.
So with Drobo, if you have two or more hard drives attached, one of the drives could fail and your data would still be safe. Or if there’s a red light, it’ll be warning sign that something is wrong and to replace that hard drive as soon as possible!
Yes, you pay a lot for the Drobo enclosure and proprietary software, but the internal disks are getting cheaper and bigger every year. You can easily add more drives to it and it will reconfigure itself automatically– little to no work on your part!
I hope you found this post useful. As a final note, I’m teaching my parents how to do this– and it’s a bit of a struggle for them since they are computer illiterate. But it should be very doable for you if you born after 1970– i.e you know how to open a program, copy&paste, rename files, etc… then you should be good to go.