Installing Thai fonts onto an Android device
Table of Contents
I’ve received numerous requests asking for help on how to install Thai fonts onto an Android device after my initial post on Rooting my Nexus One and installing Thai fonts. Since I do update my Android phone with the CyanogenMod ROM quite often (which wipes the Thai fonts on each install), I thought I’d share a simple shell script to help get Thai fonts onto Android.
This post does not cover how to root an Android device. I will leave that to you to figure out. But if you happen to have a Nexus One like me, check out the following link: Video: How to unlock and root a Nexus One.
Also, you will need to have the Android SDK on your system (hopefully Mac or Linux– which is what the script is written for, although for Windows it won’t be hard to figure out what commands need to be run– hint: use .\adb.exe instead of ./adb in DOS or whatever command prompt and skip the shell script).
There are the two prerequisites to installing Thai fonts: a rooted device and the Android SDK on your system. Oh, and I guess how to run some basic knowledge of the command line in a shell (Terminal).
Instructions #
Attach your Android device to your computer via USB and mount it.
Download: InstallThaiFontsOntoAndroid.zip.
Unzip it and you will see a folder.
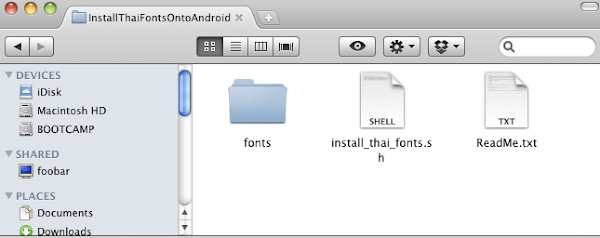
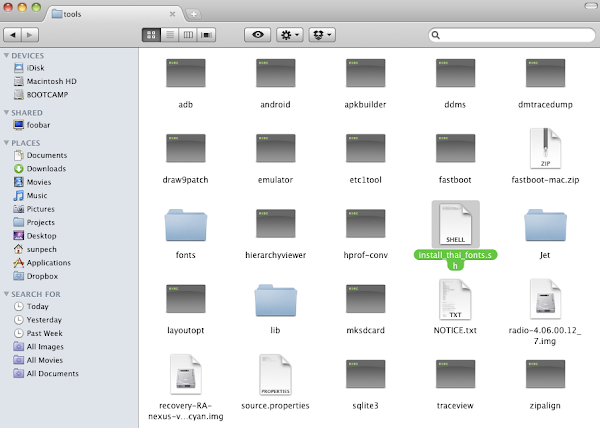
The contents of the folder should be placed in the tools folder of the Android SDK where adb is.
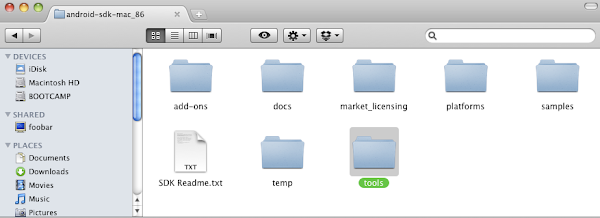
Open up a Terminal (Applications->Utilities->Terminal.app) and go into the directory where your android SDK and go into the folder: tools.

You can test to make sure that your device is connected by the following command in the terminal:
./adb devicesAnd to mount it:
./adb remountMake sure that the script, install_thai_fonts.sh, is executeable by running:
chmod +x install_thai_fonts.sh[Recommended] Now you are ready to run the shell script to install the six fonts onto the device.
./install_thai_fonts.sh
Or, if you don’t wish to run the shell script…
[Alternate] Run the following line by line (you can copy & paste them line by line into Terminal):
./adb push ./fonts/DroidSans.ttf /system/fonts/DroidSans.

./adb push ./fonts/DroidSans-Bold.ttf /system/fonts/DroidSans-Bold.ttf

./adb push ./fonts/DroidSerif-Bold.ttf /system/fonts/DroidSerif-Bold.ttf

./adb push ./fonts/DroidSerif-BoldItalic.ttf /system/fonts/DroidSerif-BoldItalic.ttf

./adb push ./fonts/DroidSerif-Italic.ttf /system/fonts/DroidSerif-Italic.ttf

./adb push ./fonts/DroidSerif-Regular.ttf /system/fonts/DroidSerif-Regular.ttf
If there were no error messages, then you should now have the Thai fonts on the Android device.
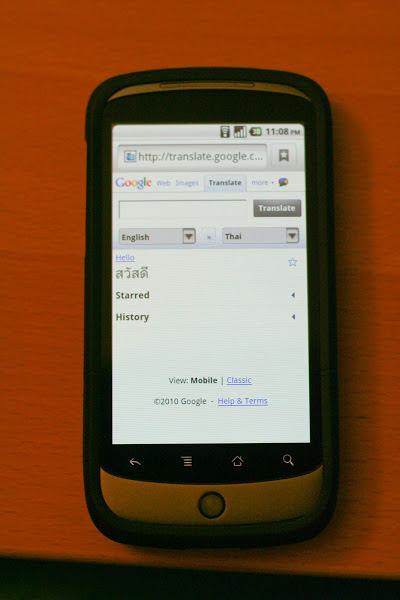
Reboot and you will see Thai on webpages, SMS, and files names that are in Thai.