Upgrading my 2010 Macbook Pro to SSD
I recently upgraded my 15" 2010 Macbook Pro’s 500GB HDD to a 512GB SSD. The directions you find in this blog post, you should easily be able to find using a search engine. I just want to document what I did, hoping to help fill the Internet with something useful, maybe.
The didn’t have a problem with the CPU or even memory. Well, I do constantly run out of HDD space every two-three months, but I do regular backups to an external USB 3.0 1 TB hard drive. But this is due mainly to the large image files from my photography. I don’t keep many applications open nor do I install apps left and right.
The problem I was having was with the speed of my hard drives. My apps were taking too long to open up and to read/write files. So I took it upon myself to invest about $400 to breathe some new life into my two year old hardware.
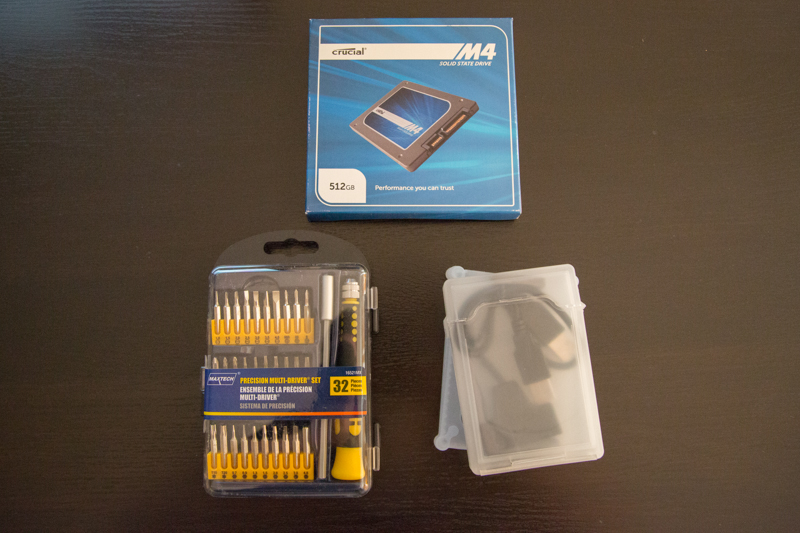
Here’s what I bought:
- Crucial 512 GB m4 2.5-Inch Solid State Drive SATA 6Gb/s CT512M4SSD2 (~$384)
- Maxtech 16521MX 32-Piece Precision Bit Set (~$10)
- 2.5 inch SATA Hard Drive to USB 2.0 Adapter Cable with Silicon Protective Case (~$10)
The SATA to USB 2.0 adapter and cable with the SSD attached.
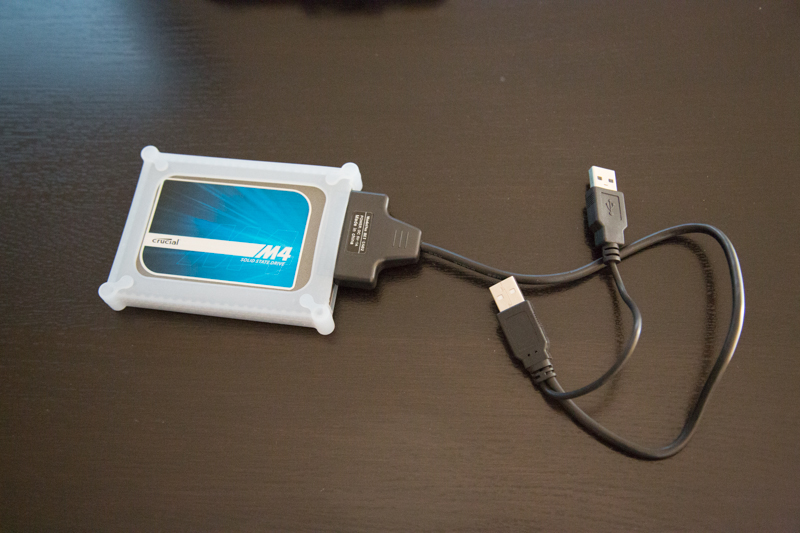
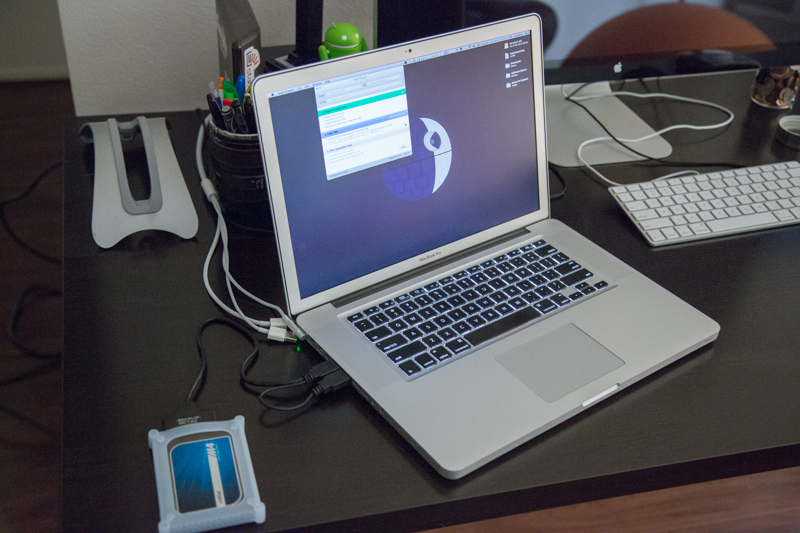
Next, I cloned my current hard drive over to the SSD. I used a free cloning app: Super Duper. Install it and just choose to backup all files. This may take a while, depending on how much data you’re transferring over. Interestingly enough, the USB adapter used two USB connections.
Transferring my files over to the SSD via USB, aka cloning the hard drive.
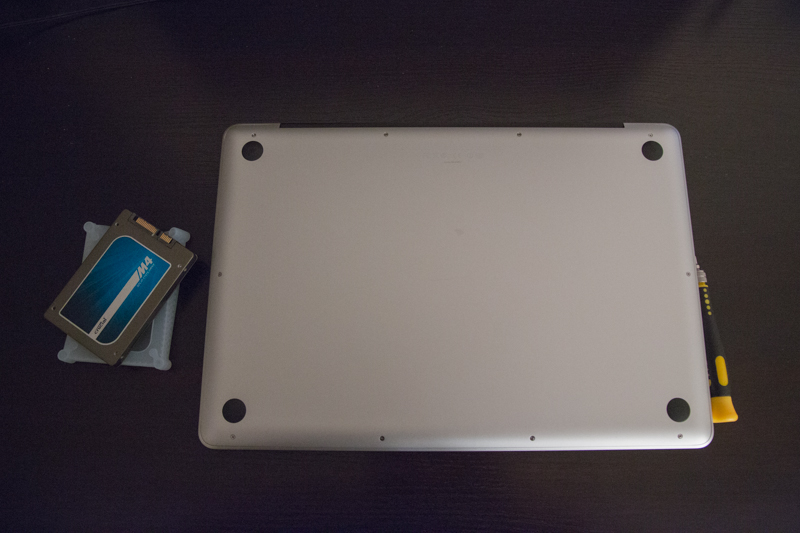
Next, I needed to remove the screws. As shown in the picture, the three screws on the top right are longer than the others. A Phillips Head #00 is required (in the screw set I recommended above).
Preparing the take the screws out.
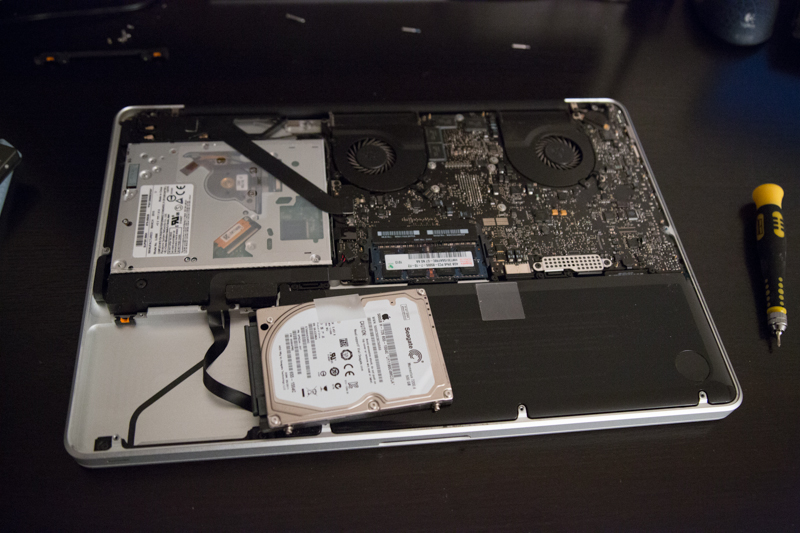
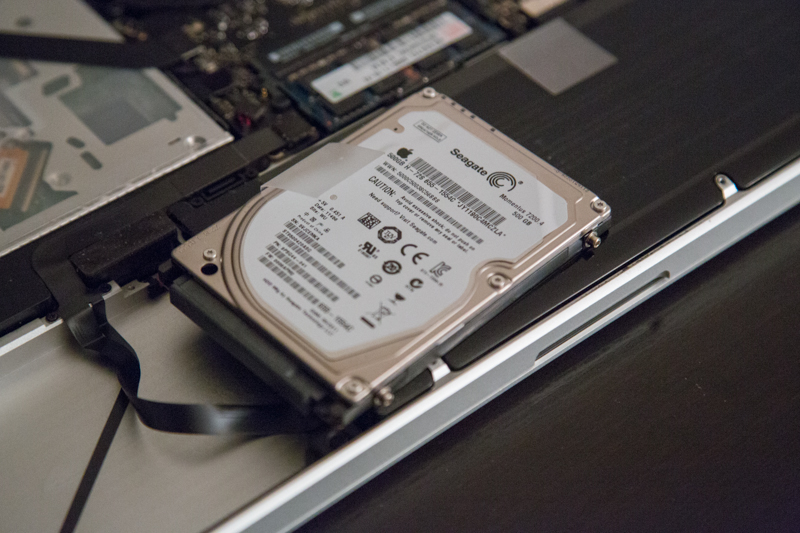
With the bottom lid removed, the hardware is exposed. The hard drive is on the bottom left. To remove that, you’ll need the Torx T6 screwdriver (also found in screw set I recommended).
I also recommend getting a dust remover to help clean the inside of the Macbook Pro. It’s amazing how much dust got into mine!
Removing the hard drive
Then I simply attached my SSD, and screwed everything back in, and ta-da, done! Well, I also recommend to enable Trim with Trim Enabler.
My Macbook Pro runs considerably better– it boots faster, the larger apps like Adobe Photoshop and Lightroom open up lighting fast. Smaller apps I don’t notice anything faster. When I work with RAW files, it’s also nicer than before.
I should note that I opted to clone because I just had the hard drive replaced and did a clean install just a year ago. It’s pretty much better to do a clean install if you have everything in place and are willing to. I’m still using OS X Lion (10.7.5).
I recommend the following youTube video: Crucial M4 SSD 2010 MacBook Pro Install for detailed instructions. It’s what I used as a reference to upgrade my MBP.